• Skip to primary navigation
  • Skip to content
  • Skip to primary sidebar
  • Skip to footer

Maria's Blue Crayon

  • Crochet Patterns
    • Amigurumi
    • Bags
    • Blankets/Afghans
    • Ear Warmers
    • Hats
    • Home Decor
    • Garments
    • For Pets
    • Scarves
  • Crochet Tips
  • Free PDF Downloads
  • Privacy Policy
  • About Me/Contact
  • Navigation Menu: Social Icons

    • Facebook
    • Instagram
    • Pinterest
You are here: Home / crochet / Halloween Crochet Blanket Joining and Border Tutorial

Halloween Crochet Blanket Joining and Border Tutorial

September 1, 2018 by Maria Weaber Leave a Comment

This last week of the CAL for the Halloween Blanket, we will be crocheting our squares together and adding the border! Pat yourself on making it this far, we are almost finished!

Joining Granny Squares

If you have never joined granny square before – don’t worry! I have a video tutorial for you on how I join my granny squares. I actually crochet them together vs. using a needle and yarn to sew them together. I find it easier, but that is just my preference!

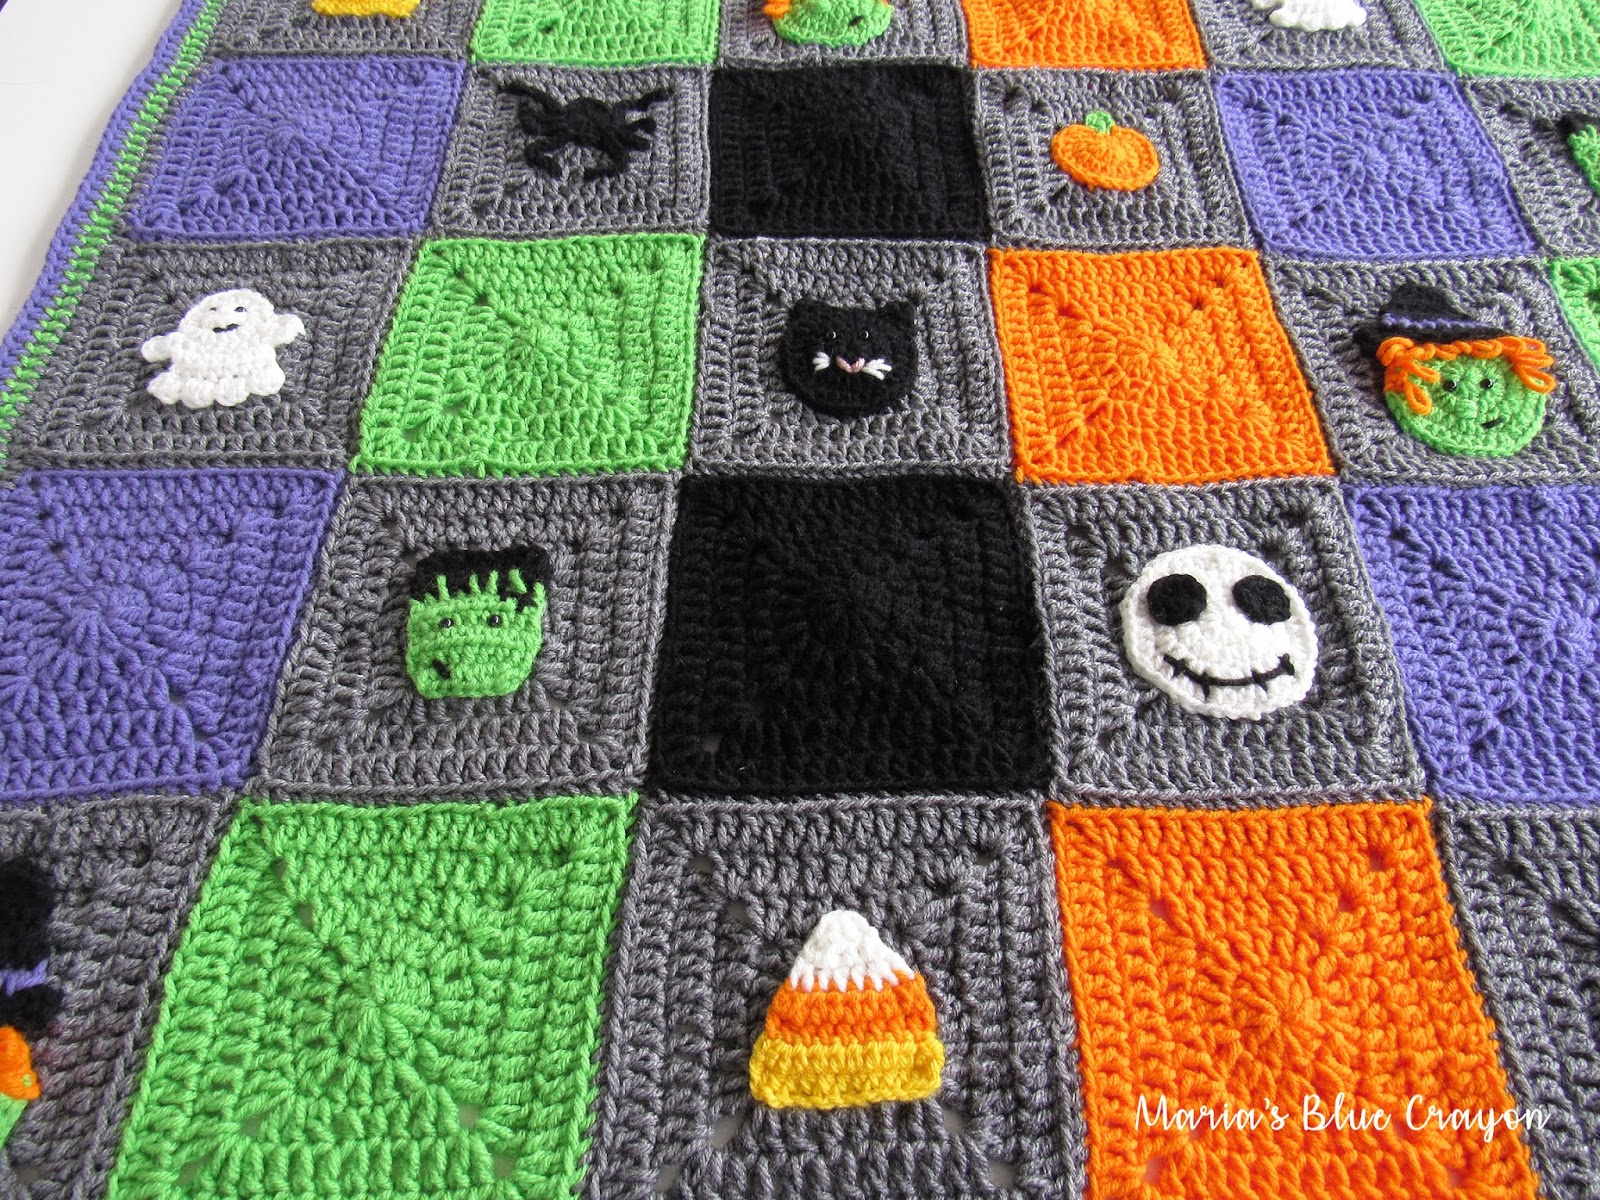
This is the same join I used for the Christmas Afghan.  For this Halloween blanket, I joined with the same gray color as the squares. See the photo below to see the order I put them in as a reference.

You can join your squares however you’d like, there are many many ways to join granny squares! If this join is not for you, do a quick search on YouTube and you will find other ways that you may like better. 🙂

Border

The border is really easy to do. I made a simple border just to tie everything together.
Start by attaching gray yarn to a corner of your blanket after you have joined all the squares. Chain up 1 and make 5 half double crochets into the corner. Continue to half double crochet all the way around the blanket (1 half double crochet per stitch around). When you get to the corners make 5 half double crochets – this helps keep the blanket square. After you get all the way around, join to the first half double crochet.
Switch to green and repeat. Then switch to purple and repeat. And that’s it!
Get creative with your borders! You can use as many colors as you’d like or switch it up with a different stitch! 
I can’t wait to see all of your finished blankets! Please share with me on our Facebook group and/or Instagram.

Filed Under: crochet, crochet tips, Uncategorized Tagged With: video

Previous Post: « Chunky Crochet and Knit Pumpkins – Free Patterns
Next Post: Best Free Crochet Patterns – In Stitches Link Up Party Week #18 »

Reader Interactions

Leave a Reply Cancel reply

Your email address will not be published. Required fields are marked *

Primary Sidebar

Hi, I'm Maria! I'm sharing with you my own free crochet patterns and tutorials, while fulfilling my love for learning and creating with my hands.
I hope you find creativity and inspiration while you're here!

Sign Up For Free Crochet Patterns + Crochet Cheat Sheet!

New free crochet patterns, coupon codes, PLUS a crochet cheat sheet right to your inbox! 

Thank you!

Please check your email to confirm subscription.

Footer

…

All of my content is meant to inspire and teach you how to create handmade crochet pieces. You may sell any finished items you make, however I ask that you use your own photos for marketing purposes. Read my full disclosure/privacy policy here:

Copyright © 2025 Maria's Blue Crayon on the Foodie Pro Theme